02. Getting Started
The goal of this project is to build a path planner that creates smooth, safe trajectories for the car to follow. The highway track has other vehicles, all going different speeds, but approximately obeying the 50 MPH speed limit.
The car transmits its location, along with its sensor fusion data, which estimates the location of all the vehicles on the same side of the road.

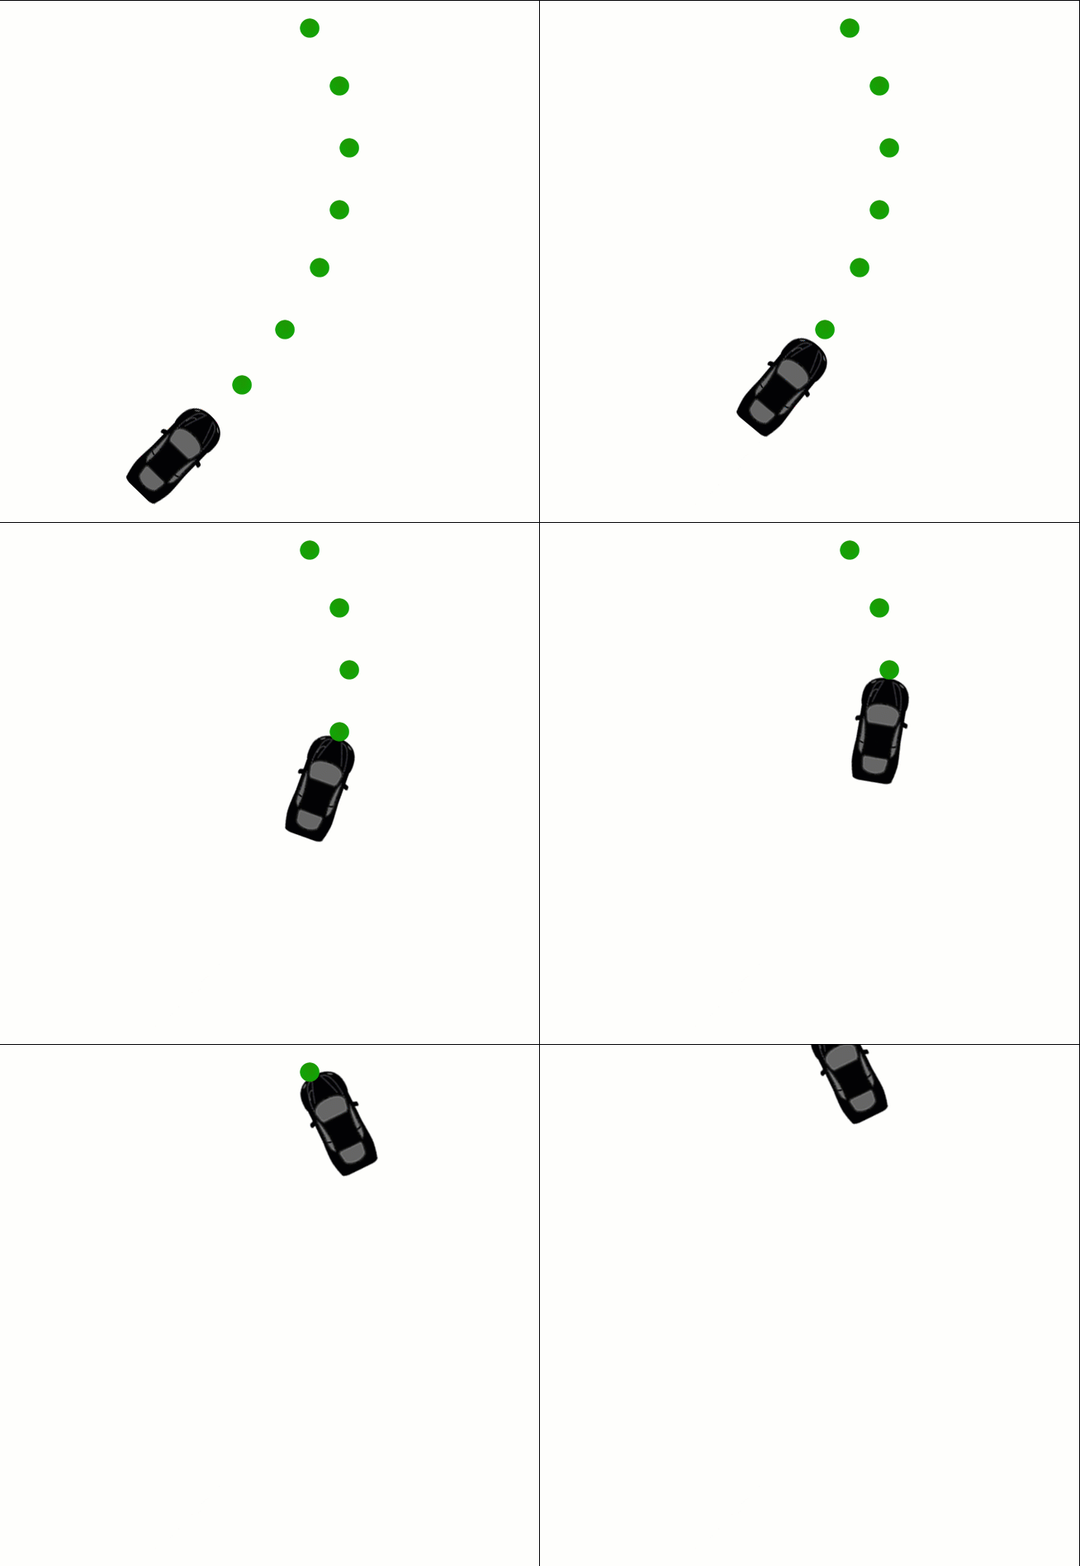
Car traversing its given path points
Point Paths
The path planner should output a list of x and y global map coordinates. Each pair of x and y coordinates is a point, and all of the points together form a trajectory. You can use any number of points that you want, but the x list should be the same length as the y list.
Every 20 ms the car moves to the next point on the list. The car's new rotation becomes the line between the previous waypoint and the car's new location.
The car moves from point to point perfectly, so you don't have to worry about building a controller for this project.
The animation above shows how the car moves and rotates through a given list of points.
Velocity
The velocity of the car depends on the spacing of the points. Because the car moves to a new waypoint every 20ms, the larger the spacing between points, the faster the car will travel. The speed goal is to have the car traveling at (but not above) the 50 MPH speed limit as often as possible. But there will be times when traffic gets in the way.
Getting Started
Start by simply trying to move the car forward in a straight line at a constant 50 MPH velocity. Use the car's (x, y) localization information and its heading direction to create a simple, straight path that is drawn directly in front of the car.
In
main.cpp
, instead of setting the speed directly, we pass
next_x_vals
, and
next_y_vals
to the simulator. We will set the points 0.5 m apart. Since the car moves 50 times a second, a distance of 0.5m per move will create a velocity of 25 m/s. 25 m/s is close to 50 MPH.
double dist_inc = 0.5;
for (int i = 0; i < 50; ++i) {
  next_x_vals.push_back(car_x+(dist_inc*i)*cos(deg2rad(car_yaw)));
  next_y_vals.push_back(car_y+(dist_inc*i)*sin(deg2rad(car_yaw)));
}
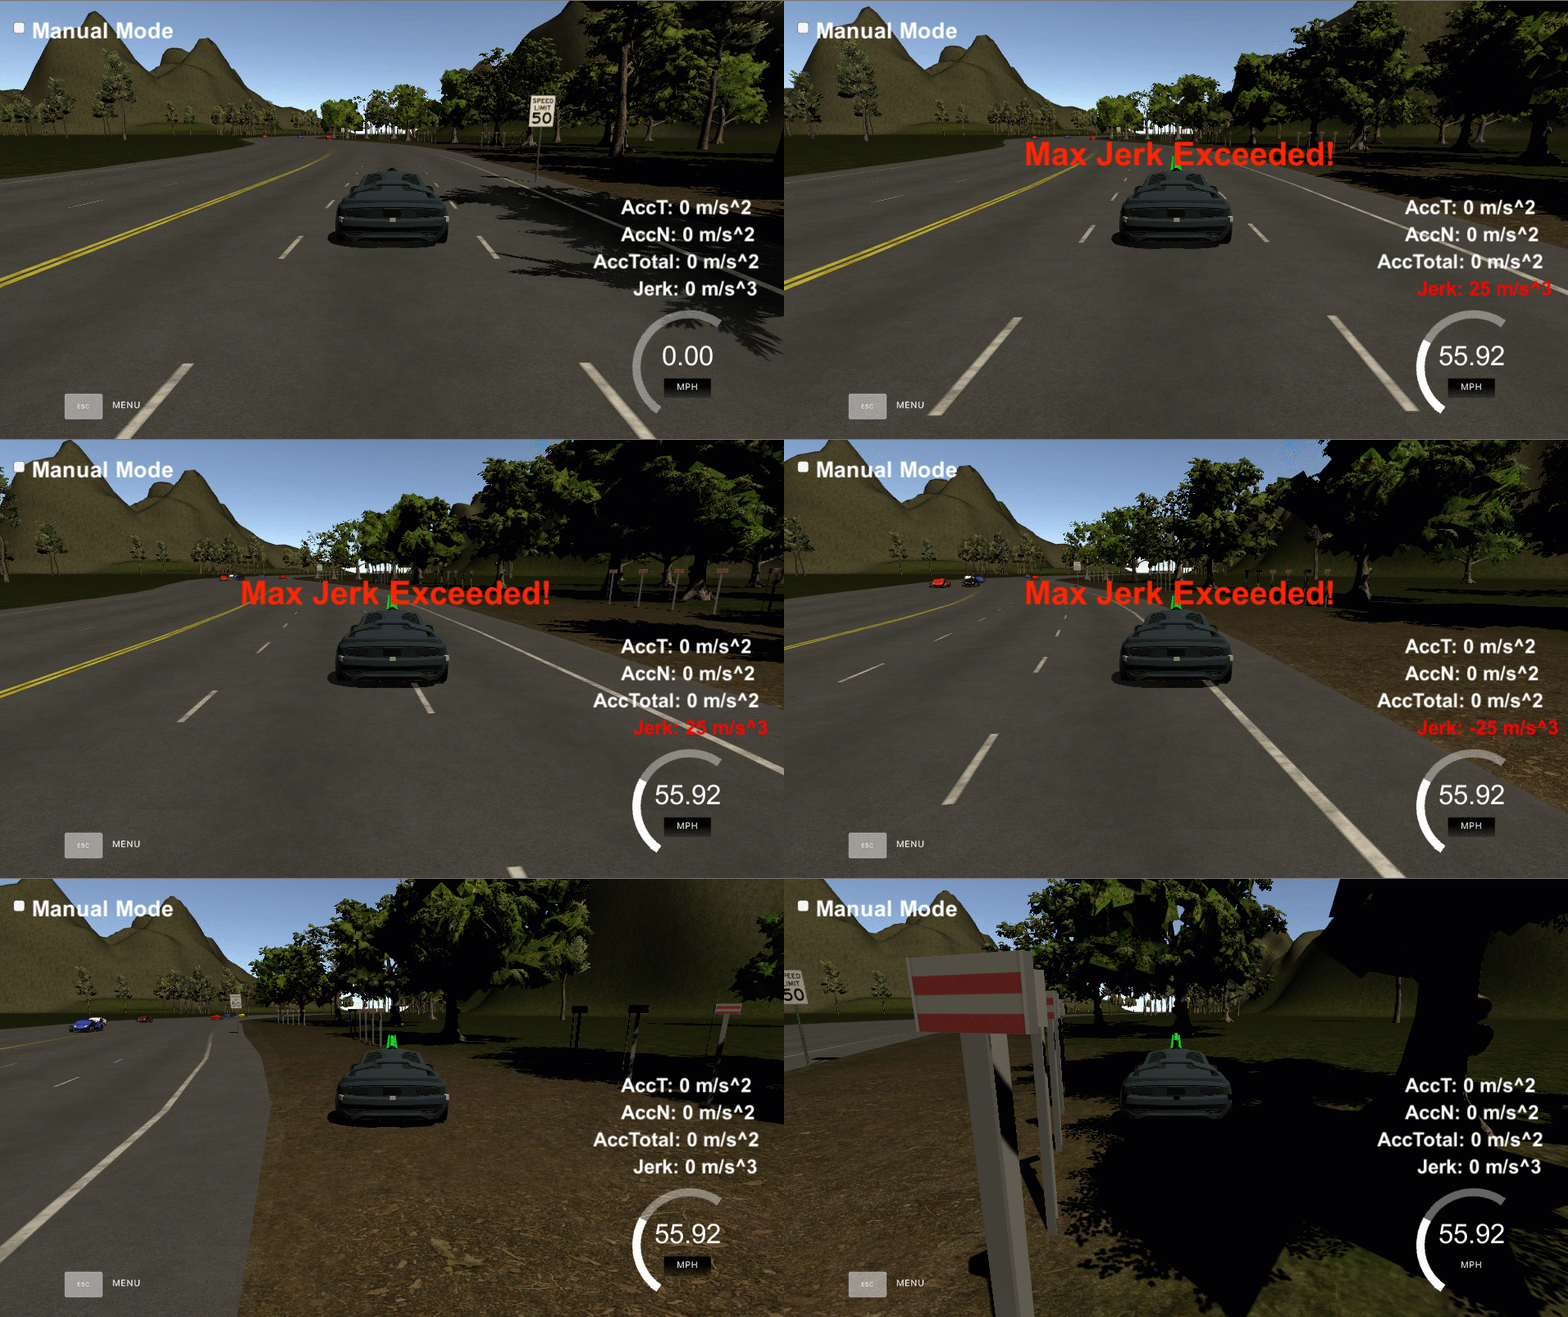
A simple test moving the car forward at constant velocity
Great! With just a couple of lines of code we were able to get the car to drive forward at constant velocity.
Notice, however, that the car went from 0 MPH to 56 MPH in a single 20 ms frame, causing a spike in acceleration.
Acceleration is calculated by comparing the rate of change of average speed over .2 second intervals. In this case total acceleration at one point was as high as 75 m/s^2. Jerk was also very high. The jerk is calculated as the average acceleration over 1 second intervals. In order for the passenger to have an enjoyable ride both the jerk and the total acceleration should not exceed 10 m/s^2.
Part of the total acceleration is the normal component, AccN which measures the centripetal acceleration from turning. The tighter and faster a turn is made, the higher the AccN value will be.
In our simple test we were not turning at all, so the value of AccN was zero.
Going forward, consider how to minimize total acceleration and jerk by gradually increasing and decreasing point path spacing based on the
car_speed
variable.
To get a better idea of how movement affects the acceleration of the car, click the Manual Mode check box in the top left of the simulator screen to drive the car around yourself.